Introduction

A Brief History of Neon Signs

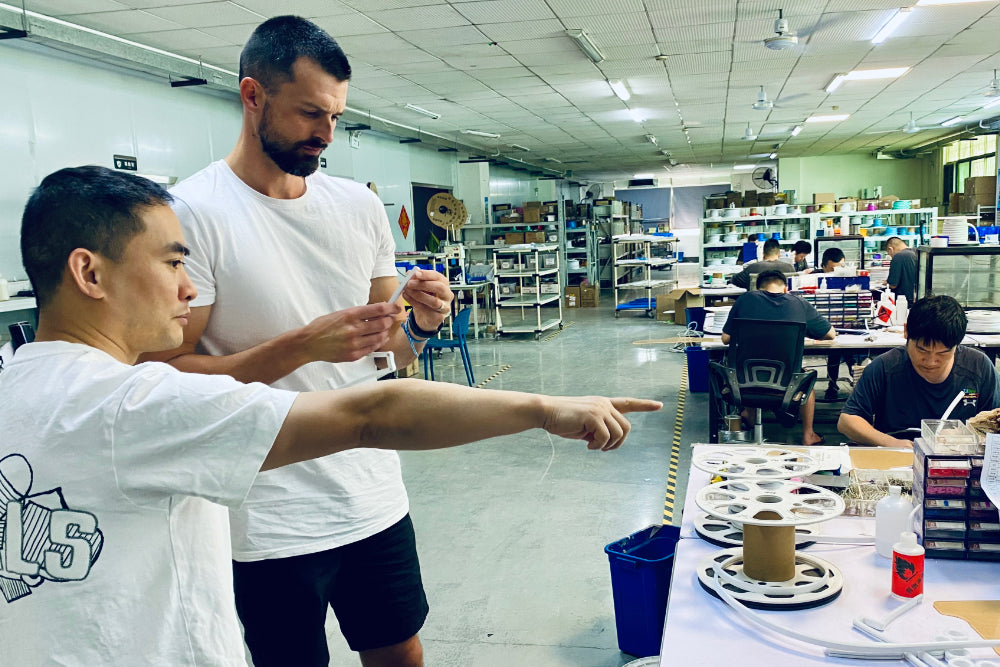
Materials and Tools for Making Neon Signs
Traditional Neon Signs:
-
Glass Tubes: These are the primary material for creating the shapes and letters in neon signs. The tubes are usually made of soft lead glass.
-
Electrodes: Metal electrodes are attached to each end of the glass tube to conduct electricity.
-
Gases: Neon or argon gas is used inside the tubes. Neon produces a red glow, while argon glows blue. Different coatings on the inside of the glass can produce various other colors.
-
Transformers: These are necessary to step up the voltage needed to ionize the gas inside the tubes.

LED Neon Signs:
-
LED Flex Neon Tubes: Flexible tubing that contains LEDs. These tubes can be bent and shaped similarly to glass but are more durable and easier to work with.
-
Acrylic Backboard: The base to which the LED neon tubes are attached. It provides support and helps display the sign.
-
Power Supply: LED neon signs operate at a much lower voltage than traditional neon, requiring an appropriate power supply.
-
Wiring and Connectors: Used to connect the LED strips to the power supply.

Step-by-Step Process for Making Neon Signs
Traditional Neon Signs
-
Designing the Sign: The process begins with a design, often created on a computer. The design is then printed out at full size and used as a template.
-
Bending the Glass: The most challenging part of making traditional neon signs is bending the glass tubes to match the design. This requires heating sections of the tube over a flame until it becomes soft enough to bend. The artisan then carefully shapes the tube, following the template.
-
Attaching Electrodes: Once the glass tubes are bent into shape, electrodes are attached to both ends of each section.
-
Gas Filling: The air is evacuated from the tubes, and then neon or argon gas is introduced. The tubes are then sealed.
-
Testing and Assembly: The filled tubes are connected to a transformer and tested to ensure they light up correctly. Multiple sections are then assembled to create the complete sign.
-
Installation: The finished sign is mounted onto a frame or directly onto a surface. This step often involves securing the glass tubes with clips or brackets to prevent damage.
LED Neon Signs
-
Designing the Sign: As with traditional neon, the process starts with a design. However, custom neon signs made with LED technology offer more flexibility in terms of shapes, colors, and effects.
-
Cutting and Shaping the LED Tubes: LED flex neon tubes are cut to the required lengths and shaped according to the design. Unlike glass, these tubes are highly flexible and can be easily bent by hand or using simple tools.
-
Attaching to the Backboard: The shaped LED tubes are then attached to an acrylic backboard. This is usually done using adhesive or small clips that hold the tubing in place.
-
Wiring: Once the tubes are in place, they need to be wired to a power supply. This involves connecting the ends of the LED strips to a low-voltage transformer, ensuring a secure connection to avoid flickering or failure.
-
Testing and Finishing: After wiring, the sign is tested to ensure all sections light up evenly. Any adjustments to the positioning or wiring can be made at this stage.
-
Installation: LED neon signs are much lighter than their traditional counterparts, making them easier to install. They can be hung using screws, adhesive strips, or brackets, depending on the size and weight of the sign.
Safety Considerations
Traditional Neon Signs:
-
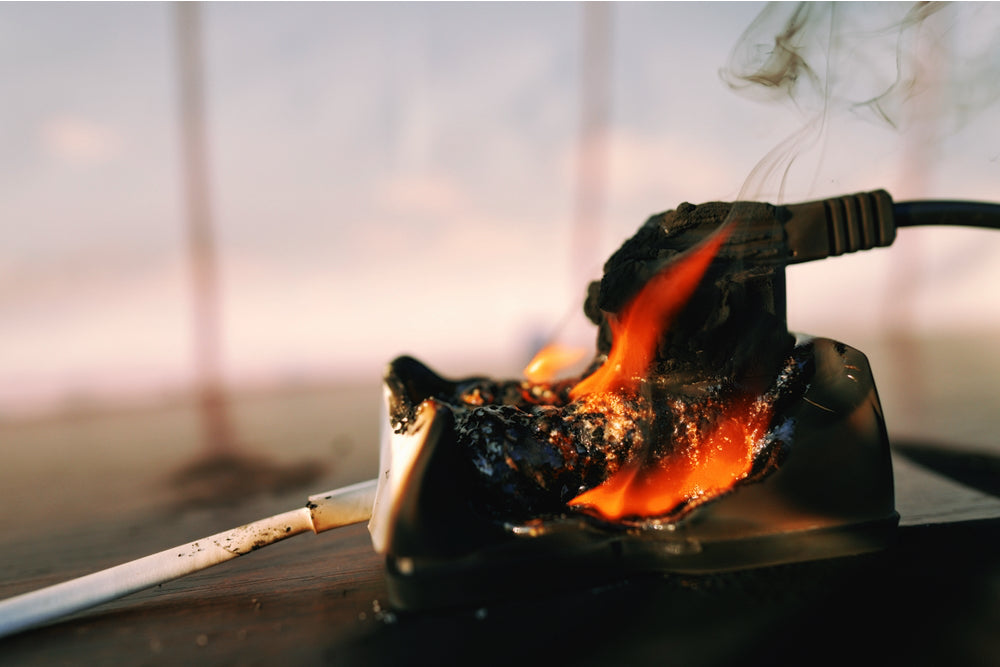
High Voltage: Traditional neon signs operate at high voltages, so it’s crucial to ensure all electrical connections are secure and insulated.
-
Glass Handling: Working with glass tubes requires precision and care to avoid breakage. Always wear protective gloves and goggles when bending and shaping glass.
-
Gas Safety: Neon and argon gases are inert and non-toxic, but they are stored under pressure. Handle gas cylinders with care to prevent leaks or explosions.

LED Neon Signs:
-
Low Voltage: One of the advantages of LED neon signs is their low operating voltage, which reduces the risk of electrical hazards.
-
Heat: Although LEDs produce less heat than traditional neon, it’s still important to avoid placing them in enclosed spaces where heat buildup could occur.
-
Installation: Ensure that the power supply is correctly rated for the LED strips being used and that all connections are secure to prevent short circuits.